How to make a Sabiki Rig
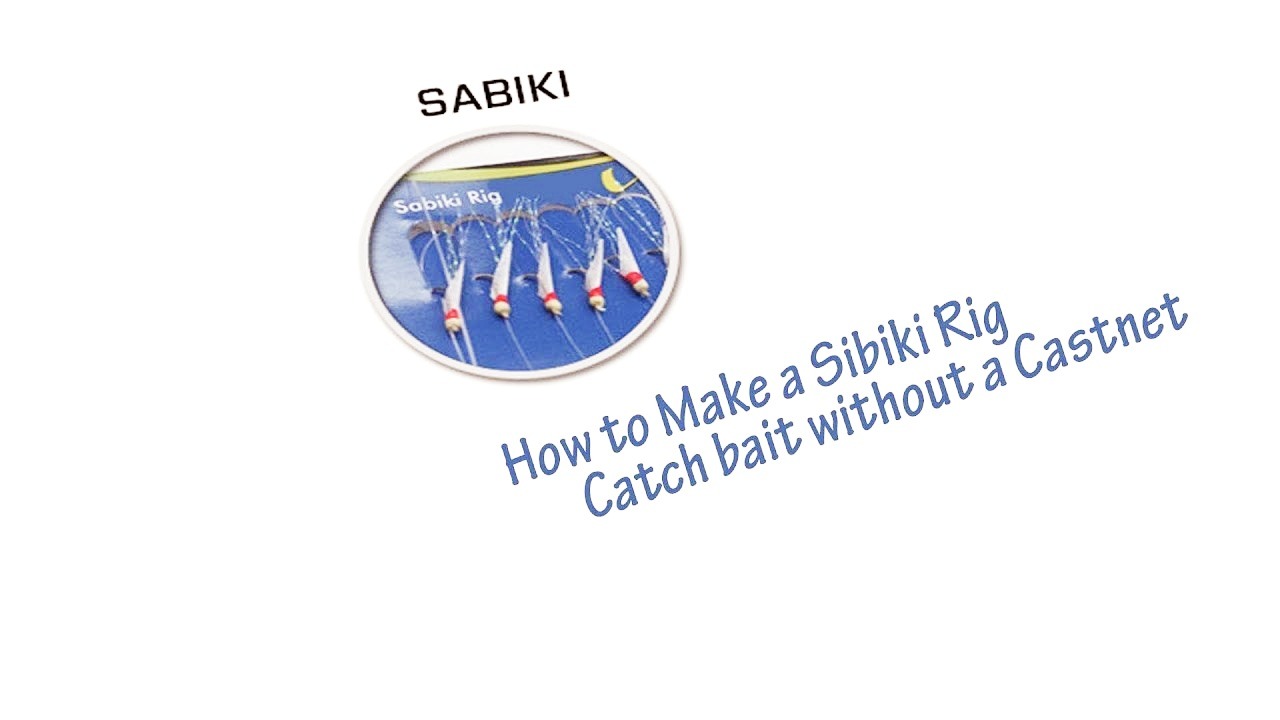
Step by Step Guide: How to Make a Sabiki Rig
Fishing with a sabiki rig is a popular and effective method for catching small baitfish. Whether you are fishing for bait or targeting species like mackerel or herring, a well-made sabiki rig can greatly improve your chances of success. In this step-by-step guide, we will walk you through the process of making a sabiki rig from scratch.
## What You Will Need
Before we begin, gather the following materials:
1. Sabiki rig hooks: Available in various sizes and colors, these multi-hook rigs can be found at fishing tackle stores or online.
2. Monofilament fishing line: Choose a line with a breaking strength suitable for your target species.
3. Leader line: A heavier line that connects the sabiki rig to your main fishing line.
4. Barrel swivels: Used to connect the leader and main line, these swivels prevent line twisting.
5. Beads and spacers: Optional, but can help add color and attract fish.
6. Pliers: necessary for cutting and bending the wire.
Step 1: Preparing the Hooks
Start by examining the Sabiki rig hooks. They usually come in a row, each hook attached to a short piece of monofilament line. Carefully remove any packaging or protective coverings.
Step 2: Cutting the Main Line and Leader Line
Measure and cut a length of monofilament line for the main line. The length will depend on your fishing technique and the depth of the water. A good starting point is around 6 feet (1.8 meters).
Next, take the leader line and cut it into individual pieces, each roughly 12-18 inches (30-45 cm) long. You will need one piece for each hook on the Sabiki rig.
Step 3: Attaching the Swivels
To prevent line twisting while fishing, attach a barrel swivel to the end of the main line. Use a clinch knot or your preferred knot for a secure connection.
Repeat this process for each leader piece, attaching a barrel swivel to one end.
Step 4: Adding Beads and Spacers
For added attraction and visibility, you can use colorful beads and spacers. Slide them onto each individual leader piece, leaving enough space before the swivel to tie a clinch knot later. Experiment with different colors to see what works best in your fishing area.
Step 5: Tying the Hooks to the Leader Line
Take one of the sabiki rig hooks and slide it onto one end of a leader piece. Position the hook so that it hangs freely, without tangling with the leader line.
Using a clinch knot or another strong knot, tie the hook securely to the leader line. Trim any excess line, leaving just enough to prevent the knot from slipping.
Repeat this process for each leader piece and hook, making sure each hook is evenly spaced along the leader line.
Step 6: Inspection and Finishing Touches
Before using your newly made Sabiki rig, carefully inspect all the connections, knots, and hooks for any weak spots or issues. Repair or replace as needed to ensure the rig’s full functionality.
Optionally, you can add a small sinker to the bottom end of the rig to help keep it at the desired depth.
## Final Thoughts
Congratulations! You have successfully made a sabiki rig from scratch. Remember to always follow local fishing regulations and guidelines when using this rig. With practice and the right technique, your sabiki rig can be a game-changer when it comes to catching baitfish or targeting specific species. Happy fishing!
*Note: The length, size, and design of a sabiki rig may vary depending on your fishing preferences and local fishing conditions. This guide serves as a general overview, and it is always a good idea to adapt and modify the rig based on your specific needs.*
Share this content:


Post Comment
You must be logged in to post a comment.