Knocker Fishing Rig
An Amazing Method of Fishing: The Knocker Fishing Rig
If you are a serious fisherman, you are constantly searching for fresh and efficient fishing methods. The knocker rig is one such method that has grown in favor among anglers. When targeting specific species, the knocker rig proves to be an especially effective and versatile fishing tool in a variety of conditions. We will go into great detail about the knocker rig in this blog post, including its operation and the best times and locations to use it.
The Knocker Rig: What is it?
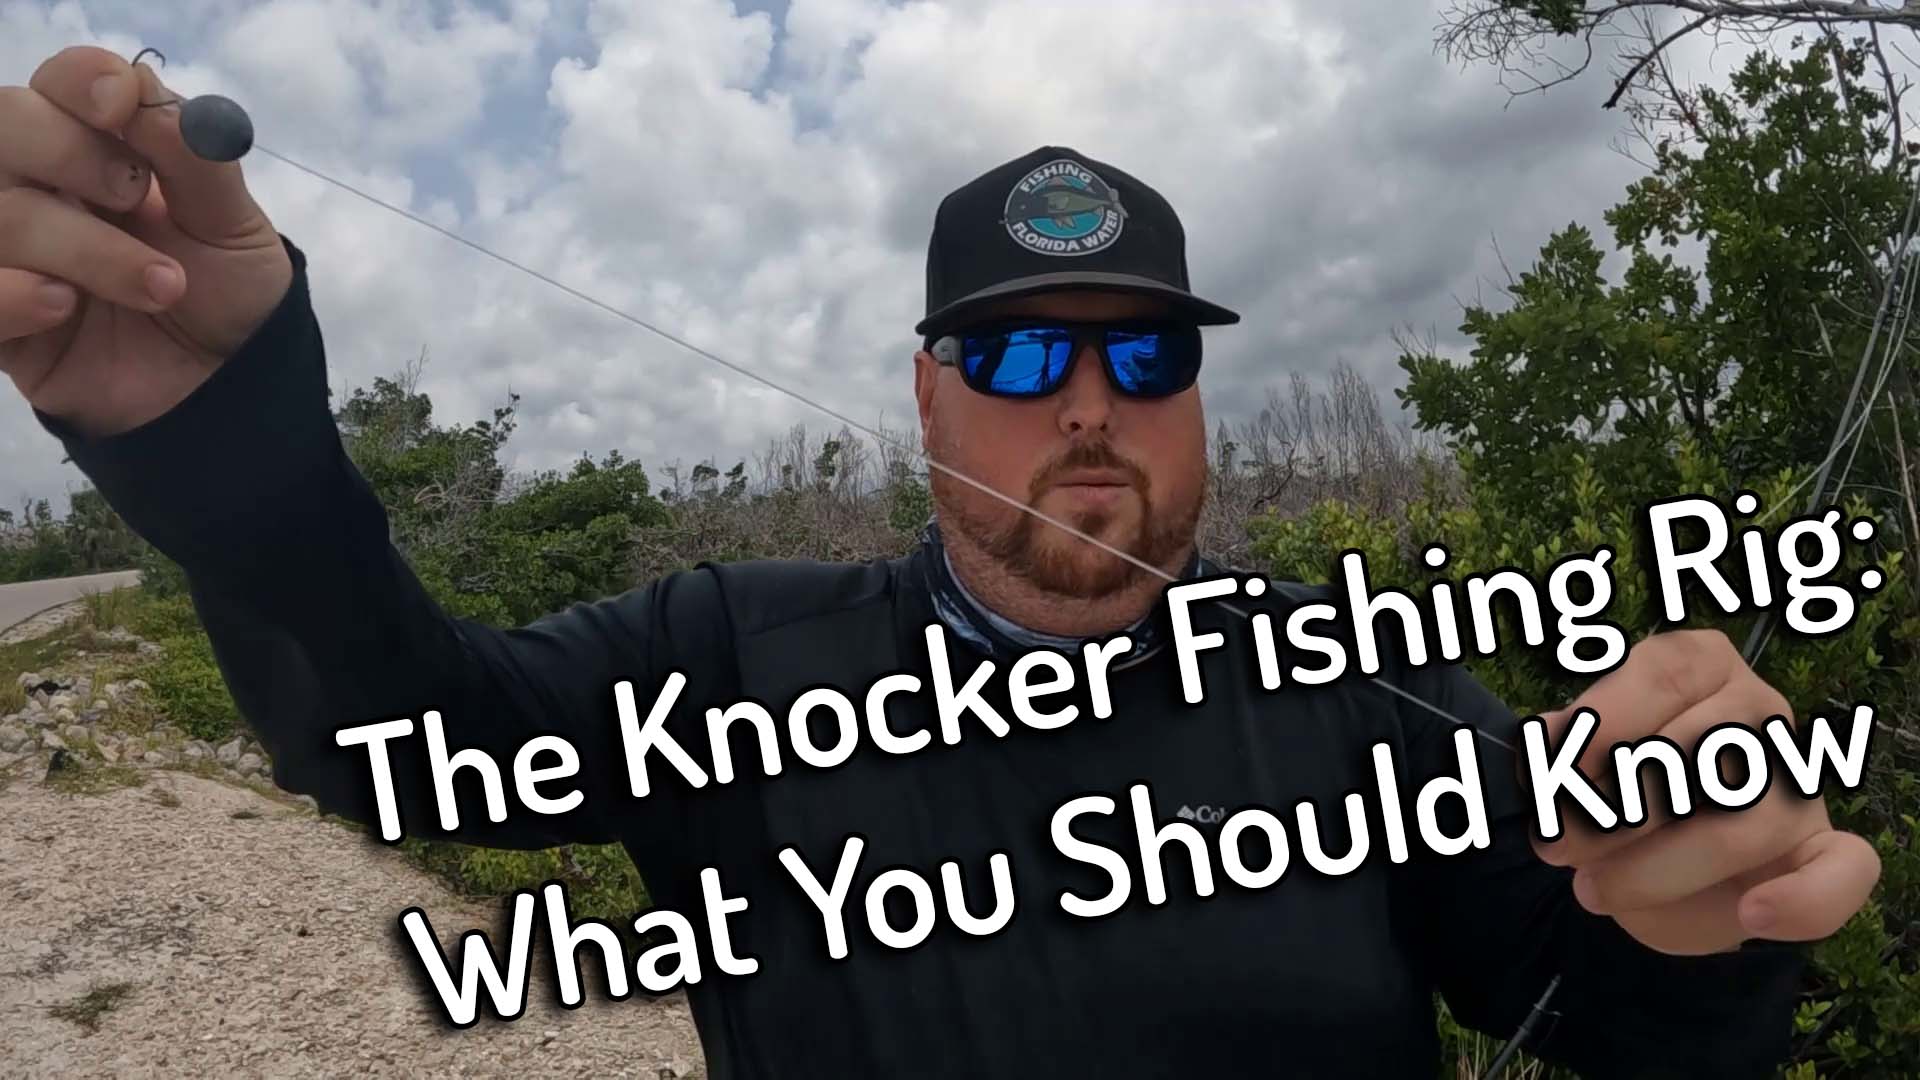
A sliding sinker positioned on the main fishing line above a swivel, with a leader and hook fastened to the swivel’s other end, makes up the straightforward but incredibly effective knocker rig. This rig is called a knocker rig because the sinker “knocks” against the swivel as it moves along the line.
How Does the Knocker Rig Work?
When fishing with a knocker rig, the sliding sinker rests on the bottom while the bait or lure is presented above it, allowing the bait to remain at a specific depth while the sinker stays on the bottom. This setup is ideal for presenting live bait or lures to finicky or bottom-dwelling fish species.
Using the Knocker Rig When
Fishing around structures like rocks, reefs, or underwater obstructions is a great way to use the knocker rig. It allows anglers to present their bait or lure close to the bottom without constantly snagging on obstacles. Additionally, the knocker rig is excellent for targeting species that feed near the bottom, such as snapper, grouper, flounder, and redfish.
How a Knocker Rig Is Usually Set Up
A knocker rig is simple to set up and only needs a few basic parts. Here’s a step-by-step guide on how to rig up a knocker rig:
- Start by threading the main fishing line through the sinker. Use an appropriate-sized sinker based on the current and water conditions.
- Tie a swivel to the end of the main line. The swivel serves as the connection point for the leader and hook.
- Attach a leader to the other end of the swivel and tie on a suitable hook for the bait you’ll be using.
- Add your bait or lure to the hook, and your knocker rig is ready to fish.
Tips for Using the Knocker Rig
While the knocker rig is relatively simple to set up and use, there are a few tips that can help you maximize its effectiveness:
- Experiment with different sinker weights to find the ideal balance between keeping the bait on the bottom and allowing it to move freely.
- Use a longer leader when targeting species that are easily spooked, such as flounder or snapper.
- When fishing in strong currents, consider using a heavier sinker to keep your bait in the strike zone.
- Always check your rig for tangles or knots before casting to prevent any issues while fishing.
Advantages of the Knocker Rig
There are several advantages to using the knocker rig for your fishing adventures:
- Versatility: The knocker rig can be used in a variety of fishing conditions, making it a versatile choice for anglers.
- Efficiency: The knocker rig allows anglers to present their bait or lures near the bottom without constant snagging, resulting in more efficient and effective fishing.
- Targeted Fishing: This rig is particularly effective for targeting specific species that feed near the bottom, giving anglers the ability to focus on their desired catch.
- Simplicity: The simplicity of the knocker rig makes it accessible to beginners and seasoned anglers alike.
What you will need:
- 20–30 lb. monofilament or fluorocarbon fishing line
- Fishing hook (size will depend on the type of fish you are targeting)
- Egg sinker (size will depend on the depth and current of the water)
- Barrel swivel
- Split-shot weights
- Optional: bead or cork
- Scissors
Step 1: Cut the line
Start by cutting a length of fishing line that is suitable for the depth of water you will be fishing in. A good rule of thumb is to use about 18–24 inches of line, but you can adjust the length based on your personal preference and fishing conditions.
Step 2: Attach the sinker
Next, slide the egg sinker onto the line. The size of the sinker will depend on the depth and current of the water you are fishing in. The sinker should sit directly on the bottom of the line, so make sure it is securely in place.
Step 3: Add the swivel
After the sinker, tie on a barrel swivel. The swivel will prevent your line from twisting and tangling while casting and reeling in your catch. Use a clinch knot or improved clinch knot to secure the swivel to the line.
Step 4: Tie on the leader line
Using another piece of fishing line, tie on your fishing hook. The length of the leader line will depend on your personal preference and the type of fish you are targeting. A general guideline is to use a leader line that is about 12–18 inches long.
Step 5: Add the split shot weights
If you find that your line is not sitting on the bottom as you would like, you can add a split shot weight or two to help it sink. This will also help keep your bait in place and make it more visible to passing fish.
Step 6: Optional: Add a bead or cork
Some anglers like to add a bead or cork to their knocker rig to create some noise and attract more fish. This step is optional, but it can be effective in certain fishing conditions.
Step 7: Trim the line
Finally, trim any excess line and make sure all knots are secure. You now have a complete knocker fishing rig ready to use!
Tips for using a knocker rig:
- Cast your line out and let it sink to the bottom before slowly reeling it in
- Use live or artificial bait that is attractive to bottom-dwelling fish
- Keep your line taut to avoid any bites and ensure a good hook set
So there you have it! Making a knocker fishing rig is a relatively simple process that can greatly improve your chances of catching fish. This rig is especially effective for targeting bottom-dwelling fish such as snapper, grouper, and flounder. Whether you are fishing from a boat, pier, or shore, the knocker rig can be a valuable addition to your fishing arsenal.
Share this content:
Post Comment
You must be logged in to post a comment.